 Tweet
Tweet
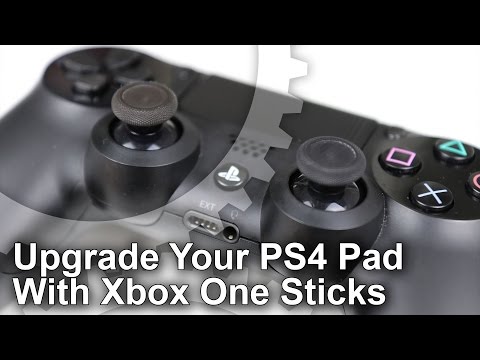
Digital Foundry creates a more durable hybrid pad and tests out a 2x capacity battery replacement.
By Thomas Morgan

At the PS4's launch, the Dual Shock 4 felt like a robustly constructed unit - a well crafted pad with a number of key improvements over its predecessor. But after just a few weeks of use, it was surprising to find the rubber material of its analog sticks starting to flake away, in some cases leading to an outright tear. Having dispatched two controllers in this way, we decided enough was enough. It was time to explore upgrade options - and since this required performing surgery on the pad, why not attempt to address the controller's lackluster battery life too?
It's the somewhat perishable nature of the sticks that is our primary concern here and the first and most obvious route is to simply buy like-for-like replacement sticks for Sony's pad, easily found online at around $13.87 USD a pair - but in our experience even these eventually wear down too. Games like FIFA 16 tend to cause this wear and tear, and likewise for any sports or action title relying on heavy analog rotations. In the end, the answer was a surprising one; rather than constantly replacing these Sony parts once they shred, why not fit the Dual Shock 4 with Xbox One sticks instead?
As it turns out, Xbox One replacement sticks use the exact same interface to lock into the pad's spindles. The dimensions match up too, meaning the sticks don't jam with the innards of Sony's pad. However, the process of doing this is rather protracted, and involves opening up your PS4 pad entirely - no easy feat the first time you do it. For those attempting to match our step-by-step video tutorial (see below), we must warn that there's a real risk of breaking your controller if you're not careful. Proceed with caution.
The process is rather simple at first; remove all four tiny screws at the controller's back with a 2.4mm screwdriver (though in our case we make do with a Philips PH1). From here, it's the more trying matter of wrenching the two halves of the pad apart, requiring the use of a plastic spudger. This tool lets us separate its light grey back plastic base from a dark grey one up top. You start by pulling apart the controller grips, using the tool to work your way down the controller sides gradually, prising it apart up to the L1 and R1 buttons - and then behind the touch pad.
By Thomas Morgan
At the PS4's launch, the Dual Shock 4 felt like a robustly constructed unit - a well crafted pad with a number of key improvements over its predecessor. But after just a few weeks of use, it was surprising to find the rubber material of its analog sticks starting to flake away, in some cases leading to an outright tear. Having dispatched two controllers in this way, we decided enough was enough. It was time to explore upgrade options - and since this required performing surgery on the pad, why not attempt to address the controller's lackluster battery life too?
It's the somewhat perishable nature of the sticks that is our primary concern here and the first and most obvious route is to simply buy like-for-like replacement sticks for Sony's pad, easily found online at around $13.87 USD a pair - but in our experience even these eventually wear down too. Games like FIFA 16 tend to cause this wear and tear, and likewise for any sports or action title relying on heavy analog rotations. In the end, the answer was a surprising one; rather than constantly replacing these Sony parts once they shred, why not fit the Dual Shock 4 with Xbox One sticks instead?
As it turns out, Xbox One replacement sticks use the exact same interface to lock into the pad's spindles. The dimensions match up too, meaning the sticks don't jam with the innards of Sony's pad. However, the process of doing this is rather protracted, and involves opening up your PS4 pad entirely - no easy feat the first time you do it. For those attempting to match our step-by-step video tutorial (see below), we must warn that there's a real risk of breaking your controller if you're not careful. Proceed with caution.
The process is rather simple at first; remove all four tiny screws at the controller's back with a 2.4mm screwdriver (though in our case we make do with a Philips PH1). From here, it's the more trying matter of wrenching the two halves of the pad apart, requiring the use of a plastic spudger. This tool lets us separate its light grey back plastic base from a dark grey one up top. You start by pulling apart the controller grips, using the tool to work your way down the controller sides gradually, prising it apart up to the L1 and R1 buttons - and then behind the touch pad.